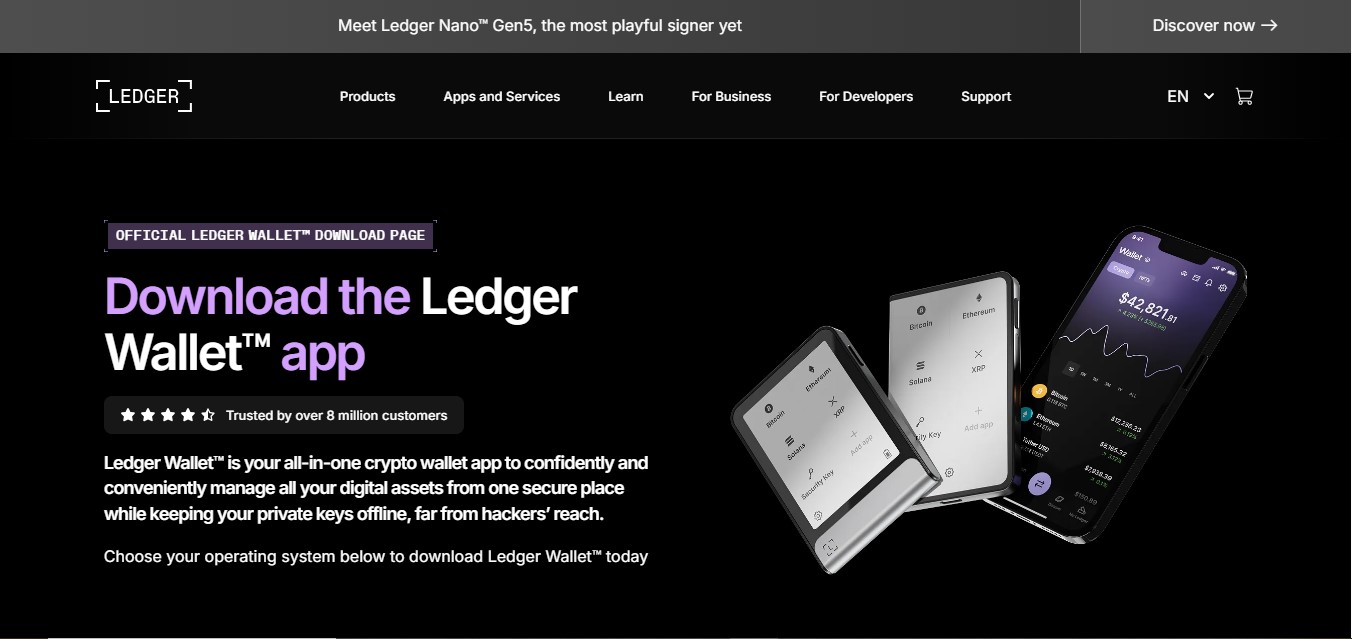
Ledger® Live — Getting Started | Complete Getting Started Guide
Ledger® Live is the official companion application for Ledger hardware wallets, designed to help users securely manage, buy, sell, swap, stake, and monitor their crypto assets in one place. Whether you are completely new to cryptocurrencies or an experienced investor, Ledger Live provides a simple yet powerful interface while maintaining the highest security standards. This comprehensive getting started guide walks you through everything you need to know to begin using Ledger Live safely and confidently.
What Is Ledger Live?
Ledger Live is a desktop and mobile application developed by Ledger to work seamlessly with Ledger hardware wallets such as Ledger Nano S Plus and Ledger Nano X. It acts as a secure bridge between your hardware wallet and the blockchain, allowing you to view balances, send and receive crypto, install apps, and manage accounts without exposing your private keys.
Your private keys always remain safely stored inside your Ledger device. Ledger Live never has access to them, ensuring that your crypto remains protected even if your computer or smartphone is compromised.
System Requirements
Before getting started, ensure your device meets the basic requirements:
Desktop: Windows, macOS, or Linux
Mobile: Android or iOS (Ledger Nano X only via Bluetooth)
Internet connection: Required for syncing with blockchains
Ledger hardware wallet: Nano S Plus or Nano X
Always download Ledger Live from the official Ledger website to avoid phishing or fake software.
Installing Ledger Live
Visit the official Ledger website and navigate to the Ledger Live download section.
Choose the version compatible with your operating system.
Download and install the application following the on-screen instructions.
Launch Ledger Live once installation is complete.
During the first launch, Ledger Live will guide you through an initial setup process to ensure everything is configured correctly.
Setting Up Your Ledger Device
If this is your first time using a Ledger wallet, you’ll need to initialize your device:
Connect your Ledger device to your computer using the USB cable.
Power on the device and choose “Set up as new device.”
Create a PIN code directly on the device.
Write down your 24-word recovery phrase on the recovery sheet provided.
⚠️ Important:
Your recovery phrase is the only way to restore access to your crypto if your device is lost or damaged. Never share it, store it digitally, or take photos of it.
Connecting Ledger Live to Your Device
Once your device is set up:
Open Ledger Live and select “Get Started.”
Choose your Ledger device model.
Follow the verification steps to confirm your device is genuine.
Allow Ledger Live to access your device when prompted.
This process ensures that you are using authentic Ledger hardware and official software.
Installing Apps on Your Ledger Device
Each cryptocurrency requires a dedicated app installed on your Ledger device:
Open the Manager section in Ledger Live.
Unlock your Ledger device and approve the connection.
Browse the list of supported crypto apps.
Install the apps you need (e.g., Bitcoin, Ethereum).
You can uninstall and reinstall apps at any time without losing funds, as your assets are stored on the blockchain, not on the device itself.
Adding Accounts in Ledger Live
After installing crypto apps:
Go to the Accounts tab in Ledger Live.
Click “Add account.”
Select the cryptocurrency you want to add.
Open the corresponding app on your Ledger device.
Let Ledger Live synchronize with the blockchain.
Your account balance and transaction history will now appear in Ledger Live.
Sending and Receiving Crypto
Receiving Crypto
Select the account you want to receive funds into.
Click “Receive.”
Verify the address on both Ledger Live and your device screen.
Share the verified address with the sender.
Sending Crypto
Choose the account you want to send from.
Click “Send.”
Enter the recipient’s address and amount.
Review the transaction details carefully.
Confirm the transaction on your Ledger device.
All outgoing transactions must be physically approved on the device, adding an extra layer of protection.
Managing Portfolio and Features
Ledger Live offers several built-in features:
Portfolio overview: Track total balance and asset distribution
Buy & Sell crypto: Through integrated partners
Swap assets: Exchange cryptocurrencies within the app
Staking: Earn rewards on supported assets like Ethereum, Solana, and Polkadot
NFT management: View and manage NFTs on supported networks
These features allow you to manage your crypto efficiently without compromising security.
Security Best Practices
To stay safe while using Ledger Live:
Only download Ledger Live from the official website
Never share your recovery phrase or PIN
Beware of phishing emails pretending to be Ledger
Always verify transaction details on your device screen
Keep your Ledger Live app and device firmware up to date
Ledger will never ask for your recovery phrase under any circumstances.
Troubleshooting and Support
If you encounter issues:
Check USB cables and connections
Restart Ledger Live and your device
Update Ledger Live and device firmware
Use Ledger’s official support resources and help center
Most issues can be resolved quickly by following official guidance.
Conclusion
Ledger® Live is a powerful and secure platform that simplifies crypto management while keeping your private keys offline and protected. By combining user-friendly design with industry-leading hardware security, Ledger Live allows you to confidently buy, store, send, receive, and grow your digital assets.
By following this getting started guide and practicing good security habits, you can take full control of your crypto journey with peace of mind. Ledger Live ensures that you—not third parties—remain in control of your funds at all times.